The installation process is easy and configuration is straightforward. Just run Setup-ICS-RemoteSupport.exe program on the Windows machine you’ve chosen to use as the Remote Support Server. Please note that you must run this Setup as an Administrator.
Follow the simple installation Setup program; By default, the Remote Support Server listens on port 443, which is the standard HTTPS secured web port. You can change it during this installation. You will also be offered to choose a domain name. We recommend to setup a name which resolves to the computer you are installing ICS Remote Support on. Note that you can direclty test ICS Remote Support by entering “localhost” as domain name.
Click “Finish” and your Remote Support interface is now ready to launch and be configured.
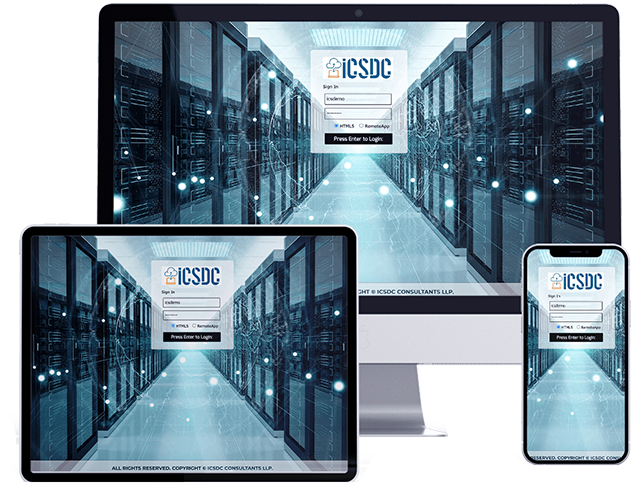
REMOTE SUPPORT WEB INTERFACE
Launch ICS Remote Support by clicking on the shortcut created on your desktop.
You need to first configure your Remote Support Administrator account to manage your server configuration. Enter your Administrator information on the Web Portal and click ‘Register’. You can also customize the logo or banner displayed to the end-user during support sessions, and set more advanced settings.
You are now ready to create Agents accounts. The demo version of ICS Remote Support enables you to add 5 agents. Click on Add new agent and you are going to enter each agent’ s details.
(Click on each hotspot to know more)
SUPPORT AGENT WEB INTERFACE
Once logged in, Agents are greeted by a list of available Remote Sessions with End-Users
They can easily generate a link to invite their customers to share their Remote Computer
Information such as support ticket number and end-user name can be quickly embedded in the custom URL.
Agents can also customize their own account settings from the “Hello, Agent name” button then ‘Settings’ menu item on the top right corner of the page: Name, email, title and password.
Once End-Users click on the link and are ready for connection, their information will appear in the support Agent’s interface.
The agent simply starts the Session Sharing by clicking on “Connect” .
END-USER WEB INTERFACE
Customer go to the URL provided by the support agent to share their screen. After clicking on the link, the End-User will be prompted to install the
ICS Remote Support Client (small browser plugin)
Once clicked on “Share your screen” the users need to enter their name before starting the session. The Support Agent chatbox will then appear on their screen. Closing this chatbox will automatically end the Remote Support session.
TAKE CONTROL OF YOUR END-USER SESSION AND TROUBLESHOOT COLLABORATIVELY
Once users have allowed connection, the Agent is able to connect to the end-user’s desktop session from the Agent interface. He can take control and troubleshoot independantly or collectively, as multiple agents can connect to the same remote computer!
The Agent Chat Box is more than just a way to communicate with the End-User. It contains vital information and functionality: OS and hardware of the user, send command, change monitor display (for multiple monitors), enable Clipboard synchronization, etc.