Connection Broker System – The “Connection Broker” can be installed on any Windows system (server or workstation in your Company Network)
The “Connection Broker” is usually installed nearby your ISP’s Router. A NAT (Network Address Translation) rule will redirect the HTTP and/or the HTTPS ports (default value is port 80/443) from the external IP to the LAN IP of your “Connection Broker”. Doing so, your “Connection Broker” is the only system exposed to Internet.
For your remote access from Internet, you will use your fix IP address to access your ICS Remote Work Connection Broker. However, if you do not have such fix address, you can use a dynamic DNS service such as DynDNS.org or NO-IP.org
REQUIREMENTS ON THE “HOME OFFICE CLIENT” SITE
Internet Connection
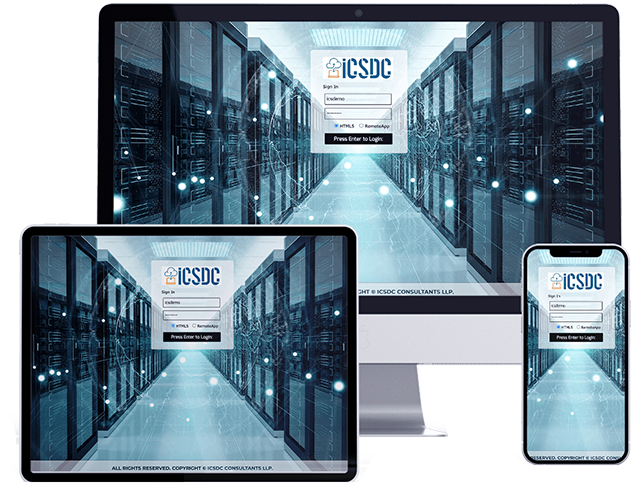
any available Browser
INSTALL ICS Remote Work
The installation process is easy, and configuration is straightforward. Just run Setup-ICS RemoteWork.exe program on the system you decided to use as the Connection Broker.
Follow the simple installation Setup program and do Restart your Server after finish the Setup process to confihure your propper settings.
REMOTE WORK ADMIN TOOL
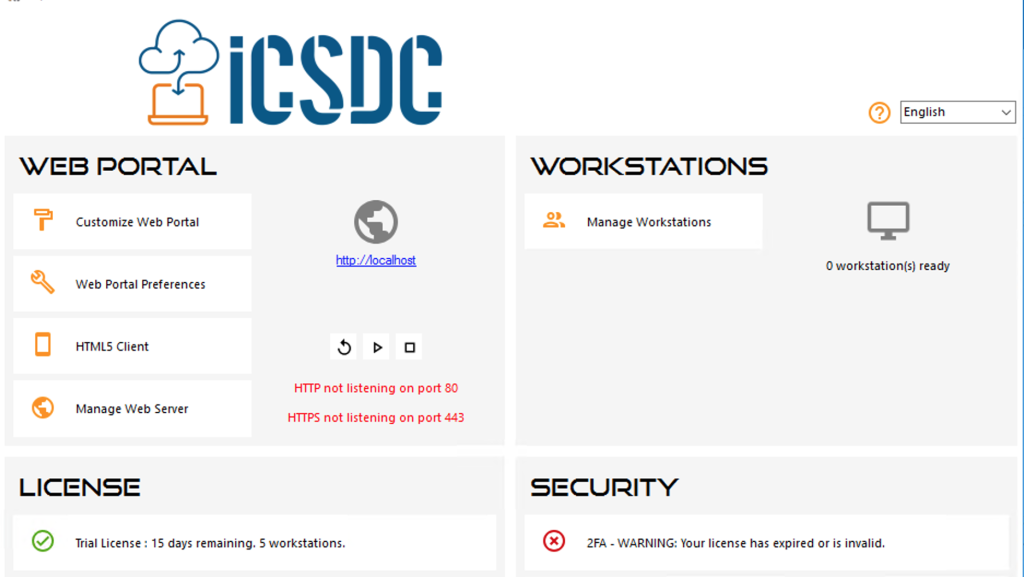
Start the Admin Tool from ICSDC RemoteWork by clicking on the Desktop icon.
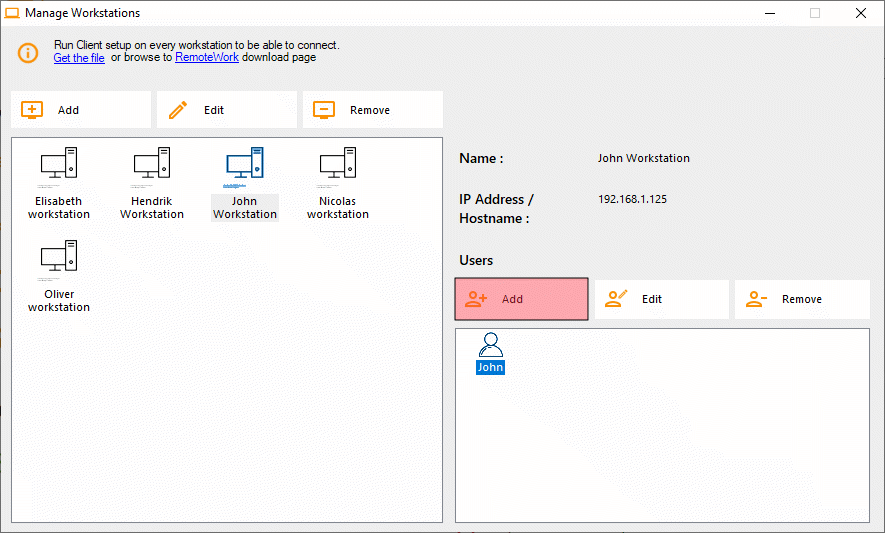
All you need to know is the Windows logon and the LAN IP address of each of your office Workstation. The demo version of TS Remote Work enables you to declare 5 workstations. Click on Manage Workstation and you are going to enter the proper setting for each user’s workstation.
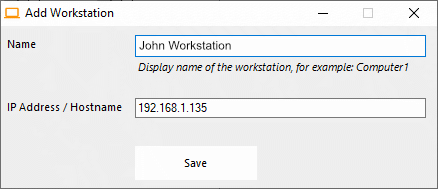
Click on Add and enter a friendly Workstation name and its IP address. All of your users’ workstations and the “Connection Broker” must have a fixed IP address.
(to see the red Button right side in the picture)
ADD WORKSTATIONS & ASSIGN TO USER
In the case of John, his PC’s IP address is 192.168.1.135 and add to the Connection Broker
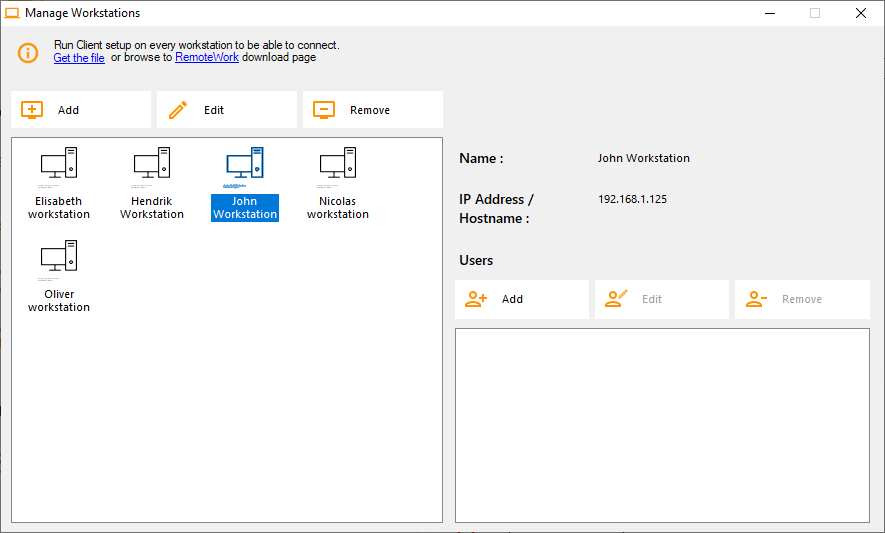
Your 5 workstations (for example) setting done now. Your declared 5 PCs.
It’s time now to assign “one workstation” to “one user”. Let’s select John workstation and click on Add in Users right side
For the John workstation, the Windows login on this PC will be “John”.
You can also add more as only one User to any Workstation. Any User create his own remote Session on the single Workstation
You can use the Active Directory login if you are using the AD for your PC’s login.
The John workstation is all set now and ready to go.
LAST ACTION TO BE DONE
On each of the 5 users’ workstation assigned in the Connection Broker, download and run the client setup program. It is a small program. You can even ask each of your user to do it themselves. The download link is
http://192.168.1.120/download
Where 192.168.1.120 is the IP address of your ICS Remote Work Connection Broker. After this action, you are all set. Enjoy and use the freedom.
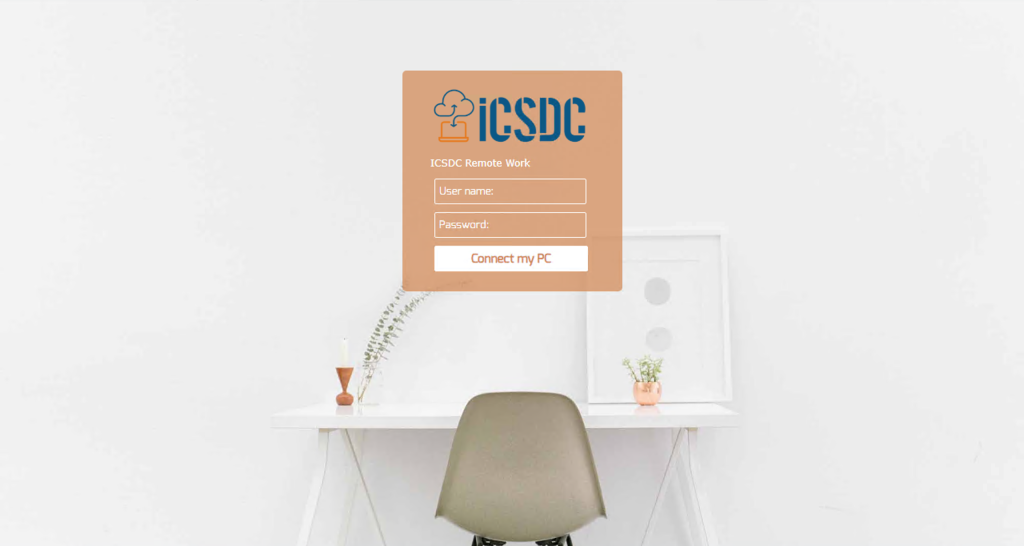
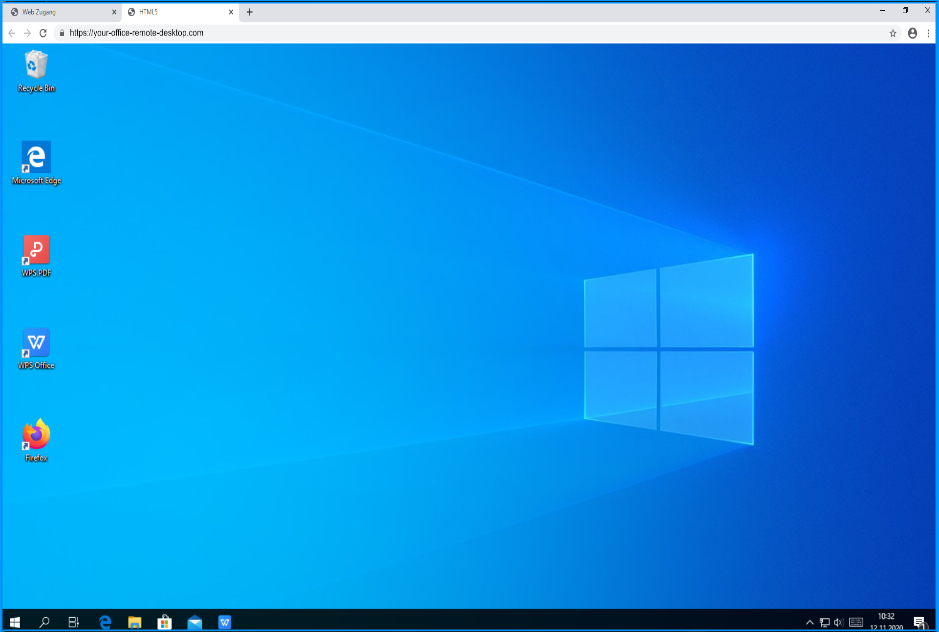
CONNECT THE COMPANY WORKSTATION FROM HOME
If the user leaves the office with a work not completed and with an open session on his workstation, ICS Remote Work will automatically capture his Desktop when he will start working from home.
More, the user can print on his home printer. To do so, he just have to select the Universal Printer. The Universal Printer turns each of John‘s print in to a PDF file. This PDF is save by his web browser. John can display, print or save this PDF printfile on his Home-PC.
Download the fully featured demo (15 days, 5 workstations) and test it now for free.